
|
Test
Pipe Install
|
|
These
instructions explain how to remove a catalytic converter for Off-Road
use ONLY! These instructions were made while a test pipe was installed
on a '92 Dakota, however, can be applied to almost any vehicle! If your
car is 1996 or newer, you have OBD-II and need to purchase a downstream
O2 sensor mimic.
|
|
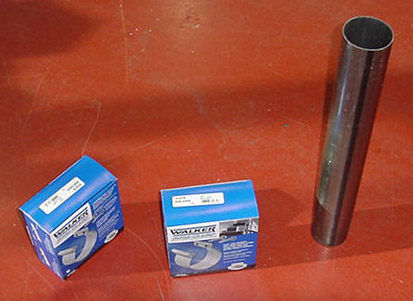
Step 1: Purchase a length of exhaust pipe that is 4"-6" longer than the converter. Make sure that the inside diameter (ID) of the pipe matches the ID of the larger of the inlet or outlet of the converter. Additionally, you will need 2 stainless steel band clamps of the appropriate size. These are available from NAPA, Summit, etc... |
 |
|
Step 2: Secure Vehicle
on jack stands or a vehicle lift so that the converter is easily accessible
|
 |
|
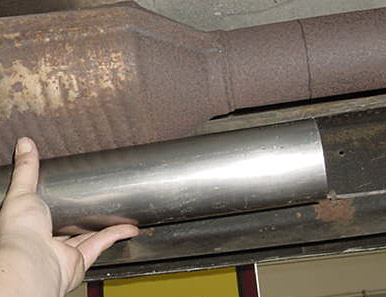
Step 3: Measure the straight
pipe against the converter so that 2"-4" of pipe are left
on each side of the converter. Mark a line around the pipe with a permanent
marker/scribe/etc.
|
 |
|
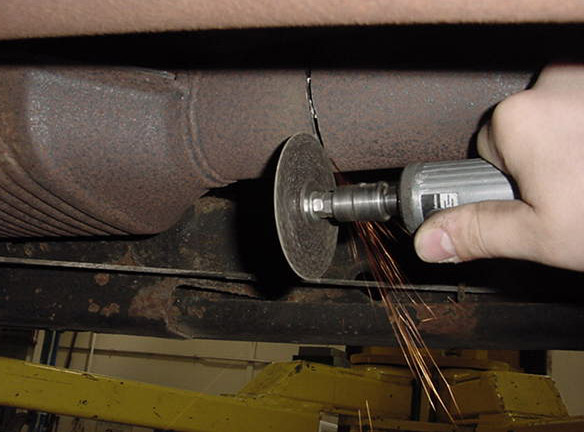
Step 4: Cut both ends of
the converter off using a cutoff wheel, Saw-Zall, Hack Saw, etc. Try
to keep the cut as perpendicular to the pipe as possible.
|
 |
|
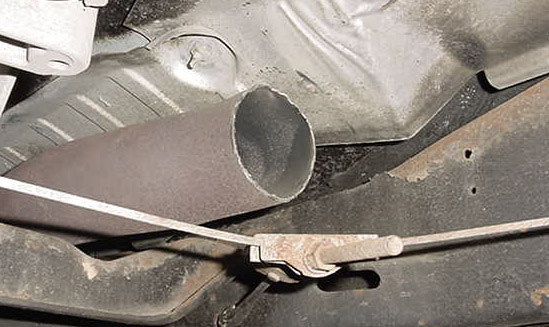
Step 5: De-bur the ID of
the pipe to make sure that none of the metal will block exhaust flow
|
 |
|
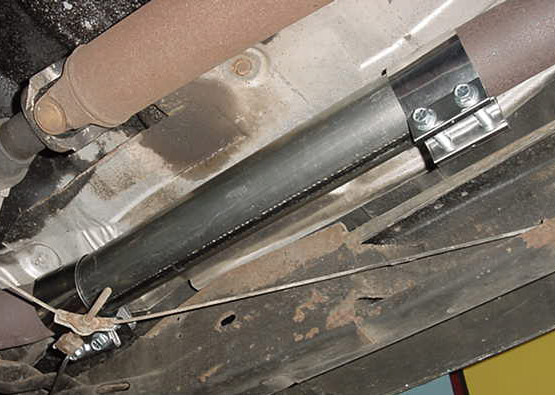
Step 6: Dry fit the test
pipe and clamps to make sure that everything fits.
|
 |
|
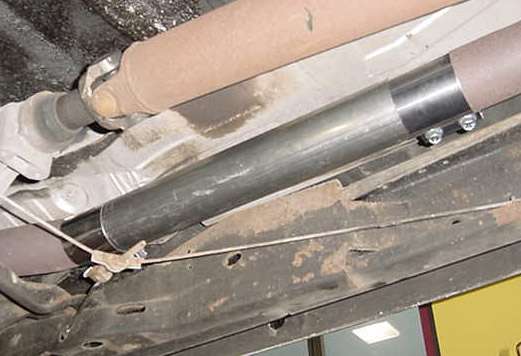
Step 7: Tighten the clamps
down per the instructions that they come with. These clamps seal well,
and allow easy test-pipe installation for use at the track. Your EFI
computer may require a little time to "learn" since there
will be reduced back pressure. Enjoy!
|
 |